Showing posts with label interior design. Show all posts

Wednesday, April 17, 2013

Dining (and kitchen and living room) lighting

The title of my post implies that when we add something to the "dining room" it's actually also in the kitchen and living room.

This is one of the major bonuses of decorating a small space, in my opinion!

I may or may not have mentioned that our dining area is equipped with a light socket, and after months of saving up our ZONE gift cards (thank you friends and family for the birthday, house warming and wedding gifts!) we had enough to purchase a ceiling light!  

Originally I was really excited about this guy:


And after receiving approval from friends and colleagues that it was the right choice it was time to introduce Derek to the amethyst pendant.  He really liked it, but also wanted to look around for himself, which is when he stumbled upon this guy:


Even though it was not my first choice, I really liked it (not to mention it's fun when Derek gets involved with decorating).  What I liked even better was the fact that it was 40% off, which meant we would have leftover gift cards that we could potentially put towards these amazing stools.  

Meet Bill:


I love the white leather/wood combo and the chrome base.  The best part is that you can adjust their height, which I think is super convenient for different counter/table heights and personal preference.  

Before making the lighting purchase I wanted to make sure it was the right size.  I knew there was information out there regarding what size your dining light should be based on the size of the room and table and after a little research here I learned that:

  • A dining light should be no wider than the width of the table minus 12 inches (this is a general calculation for all table sizes FYI).
  • Although the dining light is a great focal point, you don't want an overbearing fixture over your table.

The dimensions of our table are 63 X 35.5 inches and the light is 20 X 20 inches.  I am just 3.5 inches away from going over the size limit based on the general calculation rule, and definitely don't think it will be overbearing.  Success!

I was quick to pop into ZONE a couple days later and placed my order for our new light. 

Derek and I have never installed a light before (a reason we're probably still alive) and we would also like to install a dimmer switch.  I think the plan is to invite over some handier friends who have this experience and offer them a nice dinner with wine in exchange for their skills and maybe a tutorial for the next time (read: our bedroom ceiling light).  I will let you know how the lighting installation goes!

As for those stools; they are next on our home purchase list.  But at $165 a pop X 2 we will need to save a few more pennies.   

It felt great to knock off a purchase from the list I put together all about showing our home some love (especially since I got to use gift cards!)  I'm looking forward to moving forward with a few more projects and updates, especially now that the weather is getting warmer and I can move out to the balcony do get stuff done (not to mention set it up for outdoor use which will be a project in itself!)

Even though I spend less time indoors during the summer, this weather is inspiring me for home decorating. Is it just me or is this fresh air energizing?!

Friday, February 15, 2013

Showing our home some love

The title of this post was inspired by non other than Young House Love's book that my sister gave me for Christmas.


Now that our wedding is a lovely memory I day dream about almost daily (totally true), I am excited about putting some of our extra time and money towards other areas of our life.  Yes, Derek, don't worry - that includes saving and paying off debt if you are reading...

If it was up to me I would put all of our disposable time and income towards decorating our condo.  I’m pretty obsessed with moving things forward, but just can’t seem to find the time or energy.  Well and the obvious big kicker, the budget.  Anyone with me?  

The money part is not going to stop me from getting started on my plans though, since there are a lot of things I think we can do for little money or even free!  (i.e. organize the closet, purge clothing, hang art work we already own...)

One of the reasons I love my blog is that I can treat it like a diary and write down my plans and goals.  And they say that if you write things down you are more likely to accomplish them.  They also say that sharing your goals with others is a good way to put the pressure on.

Bonus: creating a list means you get to cross things off!  Crossing things off a list is like my favourite thing in the world.  Sometimes I write lists of things I’ve already completed just so that I can cross them off.  I knnow that is sort of cheating, but whatever.  Makes my heart sing.

So here it is, a breakdown down of what I would to love to accomplish in each room of the condo.  The list is long and will probably evolve over time, but at least I will have put the first draft out there.  I've also included an estimated budget for each item.  I have no idea if this is accurate, but it will at least give us something to work from.

I've also included some inspiration photos so you can see where my head's at!

Bedroom


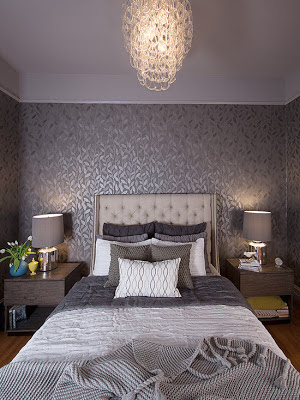
I am very happy with the bedroom furniture that we have (it’s the pieces we are missing that bothers me).  I have a vision for this room that includes moody gray walls, with purple and dark wooden accents. 
  • Walls: choose paint colour and decide whether or not to do an accent wall behind the bed (I’m thinking stencil, wall paper, or grass cloth). ($250 for supplies if we paint ourselves)


  • Clothing storage: we need to organize our closet, purge items and purchase a dresser for the room.  This may be a top priority, as I’m starting to go bananas from our disorganization.  I’m thinking something tall and slim for the corner of the room where our mirror currently leans.  ($300)
  • Lighting: we have a ceiling outlet without a fixture.  I would love to find something soft and romantic with a dimmer, mostly for mood lighting.  I am totally in love with capiz chandeliers. ($100)
  • Artwork: there is nothing on our walls.  I would love to have a few of our wedding photos blown up for above the bed and then go from there. ($150)
Total budget: $800

Bathroom

Firstly, the bathroom is pretty tiny and there is no counter space.  Any impact that is going to made must come from the wall colour or shower curtain – there is hardly room for artwork or accessories!
  • We need a new, longer shower curtain that doesn’t make our shower look like it’s wearing Steve Urkel pants. ($30)
  • I don’t like the placement of the towel bar which is above the toilet and would like to remove it.  I think we can hang a few hooks behind the door as a replacement. ($15)
  • Under the sink: well this is kind of a disaster.  I need to figure out an inexpensive way to organize our toiletries. ($20)

  • Medicine Cabinet: I love that we have a built in medicine cabinet and I am totally inspired by these photos.  I want to make it pretty, colourful and organized in there so that it puts a smile on my face every time I open the door. ($15)
  • Colour: because I’m not ready to paint yet, I’m going to try and add some colour through hand towels and maybe some art. ($40)
Total budget: $120


Kitchen

I’m pretty happy with how the kitchen functions.  With our book case on the opposite wall I feel as though we have ample storage.  We do however have extra items that are never used and take up precious space.  This calls for a de-clutter.
  • Stools: we would love to have some stools for our island; we just need to find the time to hunt for them! ($200)
  • Accent Wall: I would love to do something with our little wall at the end of the island.  Chalkboard paint, a bold colour, wall paper? ($40)
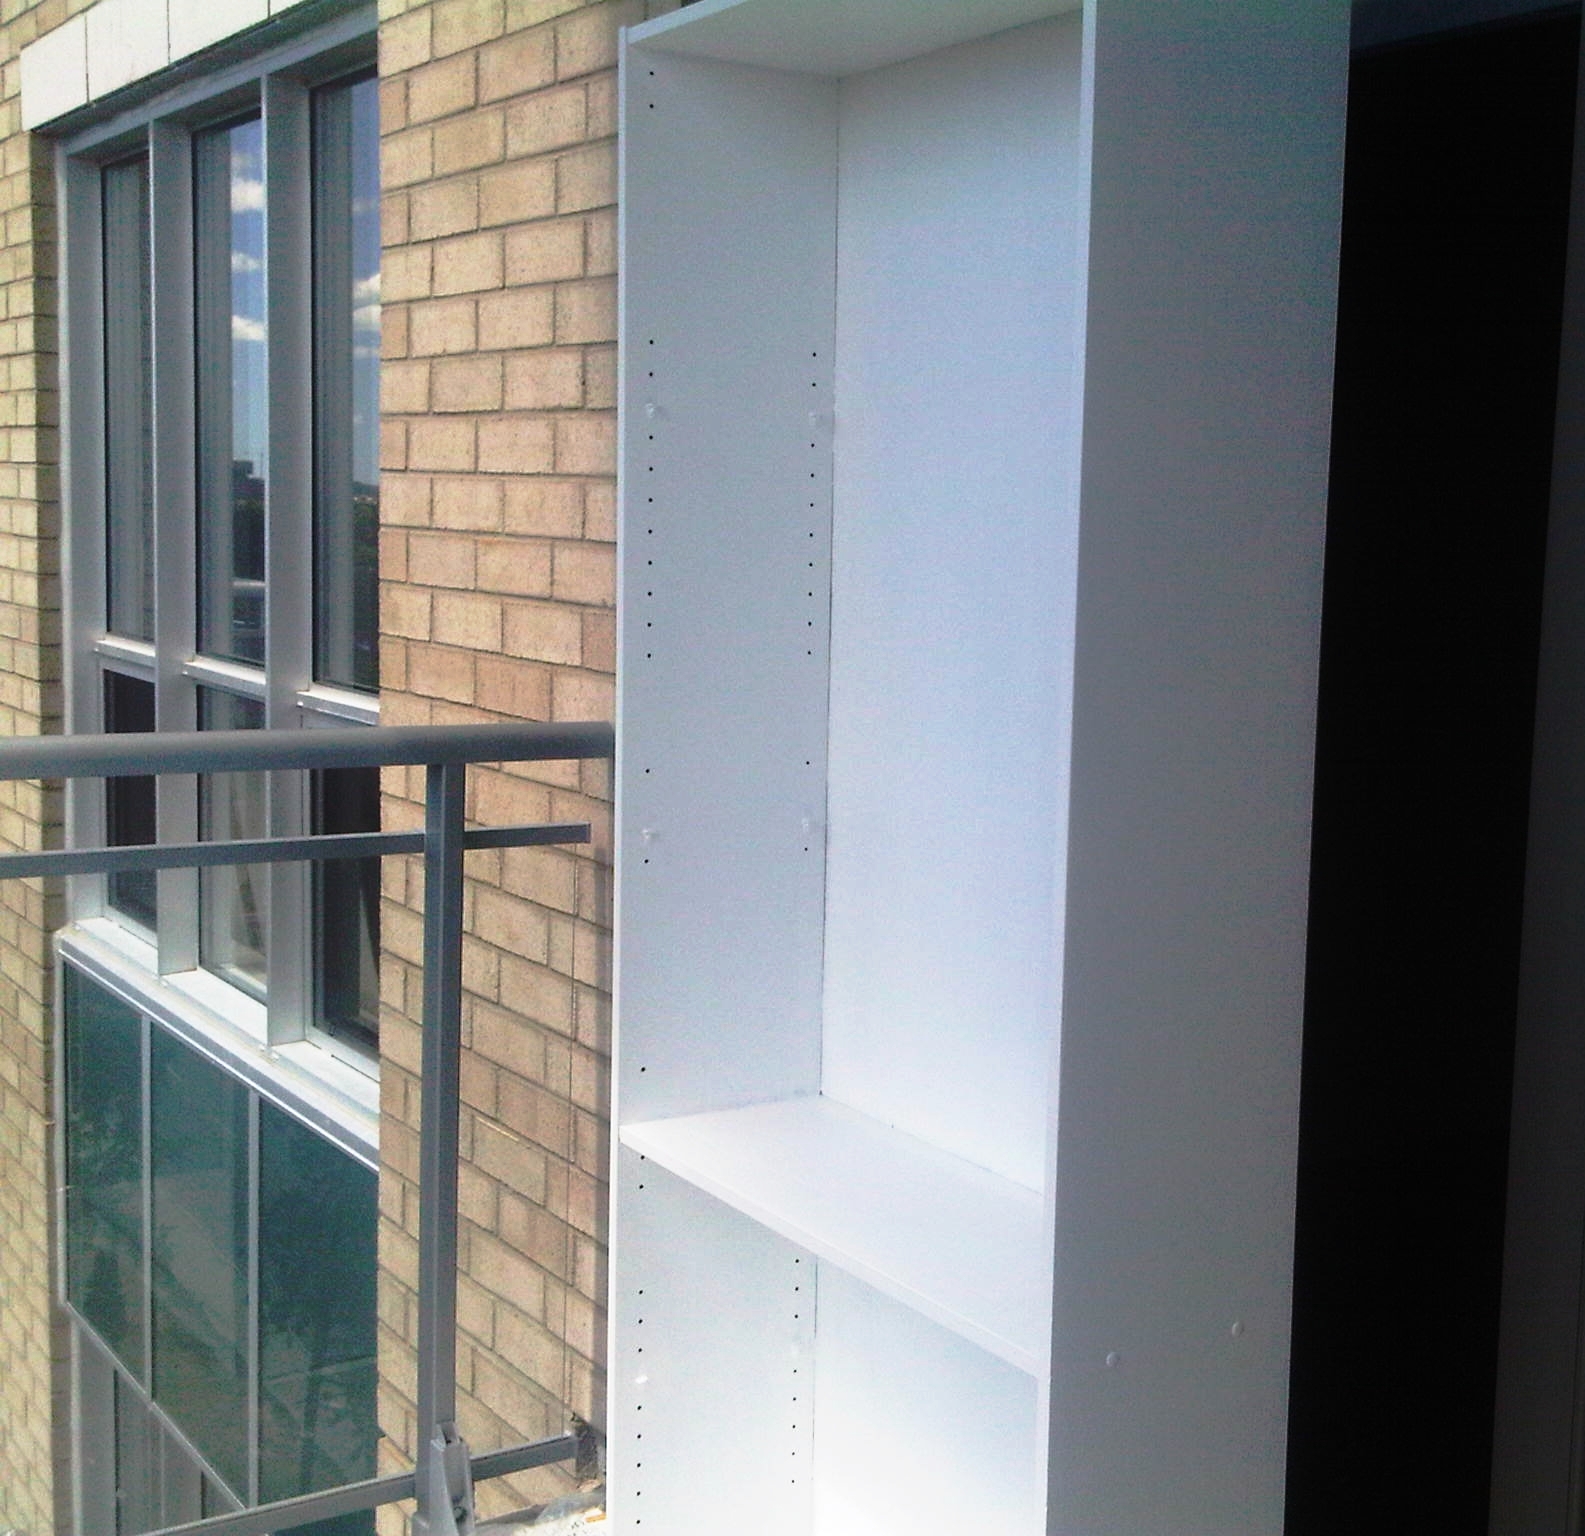
  • Shelving: I think some shelves on the kitchen side of the accent wall will add interest and storage.  I like the industrial look, and these IKEA shelves. ($60)

Total budget: $300

Living/Dining Room

This is where we spend the majority of our time.  The good news is that we love the big pieces of furniture we already have and are just missing a couple items. 
  • TV Situation: I believe I’ve mentioned before that the TV set-up is temporary.  In my dreams that wall would house a midcentury modern console, adding a warm wood tone to our space while hiding away all those pesky wires.  ($500)


  • Walls: we like them white for now, but maybe one day a soft gray would be nice. (no idea?  This is a ways away)
  • Artwork: we love our California collage above Cedric, but now that our new table has finally arrived it needs some love too.  We can’t decide what to do, but thought a wood framed mirror would like nice. ($100)
  • Lighting: our floor lamp is awesome, but we still have a ceiling outlet above our dining table that needs a chandelier.  We have a few gift certificates from ZONE that have added up over the past few months so we thing there would be a great place to start looking and so far I've found one I really like. ($150) 


  • Area rug: I want one bad!  Not only to ground the space, but to add some comfort and softness to the room.  I love how a Persian rug looks in a modern space, but I don't know if Derek is sold. ($300)

  • Curtains: I can’t decide if I want to hang panels just to soften the space and add colour/pattern. ($100)
Total budget: $1260

Den

I really need some inspiration for this room.  Its main use is to hold junk and our laundry.  It is where our friends sleep when they stay over and our future plan is make it a (very small) nursery with built-in storage.
  • Artwork: my goal is to create a gallery wall above our futon by spring!  I have almost everything I need; I just need to get my act together.  YHL actually just posted a tutorial on how they hung a gallery wall, so I think I’ll follow that. ($50, mostly for the frames)


Total budget: $50

Entrance

We don’t have much of an entrance, but that doesn’t mean we can’t create impact in this small space (along with some organization).

  • Closet: this is a huge closet, and although it’s not terrible right now, I think we can purge some things.  I would love some pretty, matching baskets with labels too J (free)
  • Bench: a place to sit when we put on our shoes and also act as a semi divider for the den would be nice.  If it included storage – bonus! ($150)
  • Entry table: we have a little guy who has been serving us well.  We’ve got a spot for our keys and loose change, but I would love to get some drawer dividers and add a mirror on the wall above it. ($15)

Total budget $165

Balcony

This is a small space that won’t take much to spruce up, but once the warmer weather hits I do want to make good use of this extra square footage.
  • Outdoor rug: we had one at our old place and loved the pop of colour it added! ($75)
  • Plants: I would like a tall palm plant of some sort along with some flowers boxes. ($50)
  • Storage box: I keep my soccer bag on the balcony in the summer time – it would be good to have a storage box to hide it (along with any other random sports equipment) away in. ($30)
Total budget: $155

Woah, things add up quickly, eh!?  Almost $3000 for all the little improvements I would like to make.  If we put away about $170/month over a year and a half I will have enough money to do everything on my list.  So, maybe I will make that a goal: save a little bit each month, and work away as the time goes by, beginning with the smaller things first, while saving for more expensive changes.

You heard it here folks: Meaghan has put together a budget!

So, how do you guys do it?  See a piece of furniture you love, put it on your credit card and pay later?  Or do you save your pennies until you have enough to pay in full?  It can be hard to wait sometimes, especially if you see something you LOVE!  But then it can be hard to justify large purchases too.  Especially since we haven't saved up for other priorities like an "emergency fund" (I had no idea this was supposed to equal approximately 3 months salary).  Not to worry - we will get there!

The Great Glebe Garage Sale is coming up in the spring and this year I will definitely be creating a detailed list and taking the shopping very seriously.  Derek - be warned!  

My goal is to tackle the bathroom organization first.  I actually stopped at the dollar store and picked up some storage containers that I love.  I can't wait to share that with you!

Happy Friday everyone!

Monday, November 12, 2012

On white walls

Interior design (like weddings nowadays) is so personal, which is one of the reasons I love it so much.  There are many spaces that I see in magazines, for example, that I love but wouldn't use in my own home.  The most important thing to keep in mind is that although we may like to follow trends or make our guests feel at home, we should really decorate our spaces for ourselves - the people who spend the most time there!  

A few weeks ago, I was at an event hosted by the amazing Hive Girls, which was centered around home décor.  One of the presenters, an interior designer, suggested that everyone take a look at what they were wearing which would provide a sense of what our unique design style is.  

I thought that was interesting, especially since my girlfriend was wearing a soft knit sweater with jewel toned accessories.  She just happens to live in a cozy wood home, complete with a wood burning stove and is drawn to warm tones.  I was in a straight cut black and white dress which I feel was a good indicator of our condo’s modern, classic decor.

Which leads me to the topic of this post: our white walls.

It’s so funny.  One of the first things people ask when they come to visit our new place is “so are you going to paint!?”  Maybe you think the answer would be an obvious “yes!” but Derek and I both actually enjoy our white walls.  For some reason though, I felt self-conscious telling people this.  Maybe they will think we are lazy and that’s why we aren't painting.  Or that we have bad taste or are boring and bland.  

I casually stuck a paint chip I had on hand by one of our light switches - the universal sign that you are at least thinking about painting - just so I wouldn't be judged.  SO silly, right!?

After over three months of living in our new condo I've decided to take down that paint chip and own the white walls.  To us, they don’t feel cold or sterile or unfinished.  They feel warm and clean and keep our space feeling open and bright.  

With our all white kitchen cabinets and appliances, having white walls helps create a continuous view which creates the illusion of space (although maybe one day we will be looking for contrast).  I think the dark floors and counter tops help ground the space, while the pops of colour I’ve added with accessories like pillows, vases, kitchenware and art keep things happy and playful.

We are happy to say that we are owning our white walls and love them!  

Here are some inspiration photos that I referred to, and further down are some updated photos of our own place!

I think the gallery wall behind the gray couch looks awesome here.  This is the look I would love to have above our couch in the den.


This entrance looks so fresh and sophisticated.  The white/gray walls feel anything but unfinished in my opinion.

White Walls with White Chair and Mahogany Pedestal Table

I love this white kitchen and how casual yet clean it feels.  The art, bright fruit and fun little chalk board really pop against the white walls.

Kitchen-and-pantry-at-Apartment-Interior-Design-with-Scandinavian-Style-07

This room feels fun and colourful.  I think they achieved this by layering textures and adding pops of colour through their accessories.  The room feels casual and inviting with the leaning art and cushions on the cozy looking rug.  I'm really loving the long shelf above the french doors.  What a perfect place to display vases.  I think grouping them by colour and style keeps it from feeling cluttered.

Scandinavian-style-living-room-with-sofa-and-lamp

And now for our own white walls!

I had my girlfriends over the other weekend and along with taking care of some wedding crafts we also put up some art!  Talk about a productive sleepover!


When our dining table finally arrives I am going to look around for a large scale mirror for that wall. 


Here's our entrance.  I was getting tired of our fall display and so this is how it looks now.  I'll keep you posted on any improvements!


I love how everything I add to the kitchen really pops against the white base.


Here's what you see when you walk through our front door.  It's our den, a little Canadiana inspired with my Bay blanket and matching pillows.  I think a gallery wall would look great above the couch!


To keep it real, it realy is a tiny little space that usually looks like this:


You see, that closet holds our washer and dryer, so our den has inevitably become our laundry room.  But it also acts as a good guest room.  And call us crazy, but one day we plan to stick an infant in there.  

The den got some loving too with this cute little bee mail holder.  It was a very thoughtful wedding shower gift.


So cute, right?!


Our last little piece of white wall that got some love was right in the entrance.  We had the perfect piece to cover up the ugly fuse box.  Perfect, no!?


So there you have it.  A little over-due somewhat-of-a-house-tour and my thoughts on our white walls.

How do you feel about white walls?  Stark and unfinished or clean and crisp?

Tuesday, August 07, 2012

Painting laminate furniture

How was your long-weekend?  I hope it was a nice combination of fun in the sun, socializing with friends and family, topped with a generous dose of (insert favourite beverage here)!

We had a great weekend - my first weekend spent at the condo actually!  It was nice to wake up and enjoy our new space instead of having to rush off to work.  I still sort of feel like I'm on a vacation, living in someone else's home.

Although we were quite busy socializing with friends, I did find the time on holiday Monday to tackle a portion of my painting project.  And for my first attempt at painting furniture, I think it went pretty well.

Saturday, Derek and I decided to shop local and we hit up the Benjamin Moore paint store on Beachwood for our supplies.  After leaving there having spent almost $140 we decided that it probably wasn't the most economical store for our project.  Live and learn, right?!

We purchased all the necessary supplies that any beginner requires...

  • a small foam roller
  • an angled foam brush 
  • paint tray with disposable liners
  • a large plastic drop cloth
  • sanding block
  • paint
The nice lady at the store suggested we go with their Aura Interior Paint.  Maybe because they claim that it is the finest paint they've ever made, "offering the most advanced way to bring colour to life", but probably because it's the most expensive.  Either way, she hooked us.


One gallon of decorator's white (CC-20) cost us $73.  (GASP!  That $!@% cray!)  We went with the satin finish.  The good news is that it's a great colour (can you call white a colour?) and I plan to use on other pieces of furniture.  It also comes with a built in primer which meant I could skip that step.  The website insists that "Aura paint covers like no other, with even the deepest shades never requiring more than two coats."  My project actually required three coats.

For the accent colour in the back of the cabinets we chose Pool Blue (2052-50).  It came to about $25 for a quart of the Aura in satin finish.  We both loved how refreshing it felt, and it really reminded me of my inspiration photo:


Monday arrived and Derek helped me set-up on our balcony before leaving to play golf.  I'll admit, it was a little crowded out there, but I managed.  Condo living = learning to deal with tight spaces!

Before I got started I was pretty nervous, having never tackled such a project.  But I remember something I read recently about how beginner DIY'ers shouldn't be scared or hesitant and need to just DIVE IN!  So that's what I did.  Without thinking about it too much, I got to sanding and painting right away!

Here's a little timeline of photos for you....


After one coat.


After two coats.


Three coats!  I actually only did two coats on the back since I would be painting it in pretty pool blue.


After one coat of pool blue:


Digging the blue!


And they are in!  I had to cut my painting session short to head out to my soccer game, and I was only able to finish one coat of blue paint on the one unit.  We still need to paint all the shelves too.  Over all I'm pretty happy, and I think once the shelves are up and they are styled it will look more "coastal modern" and less "little boy's room".


As for how I edged around the inside with blue paint, I actually sacrificed one of my eye shadow brushes.  The angled foam brush the lady at Benjamin Moore suggested just wasn't doing the trick and since it was a holiday everything was closed.  

A few other things I learned:
  • wait the complete hour and a half before applying your next coat
  • watch out for drips and catch them as soon as you can
  • light, smooth coats are better than thick ones

Although I may not have used the best painting techniques or overspent on supplies, I'm glad I decided to just dive right in.  Even if they are not perfect, I think it's a great improvement from the dark brown laminate we started with!


Do you agree?

Derek actually commented that the inside of our condo is beginning to resemble the colour scheme on the outside of the building!  Maybe we were subliminally inspired by the outside design!


I am itching to finish painting so that I can style my book shelves!  Derek said he might tackle the rest of the painting which would be nice.  I will keep you posted on how it goes!

Friday, May 11, 2012

The countdown is on!

We will be moving into our new condo in exactly 73 days!

or

about 2.5 months!

or

1 752 hours!

or

105 120 minutes!

or

6 307 200 seconds!

Sorry, I got carried away there.  I just thought this website that helped me with those calculations was really funny.

All that to say, we are getting super excited.  Especially since we came across this MLS Listing for a Bennett unit in the Tiffani I.  (We purchased the Bennett model in the Tiffani II)

The realtor describes our unit as being a "rarely available 760 square foot bright and beautiful Bennett unit with the best views in the building!"

Yes - BEST views in the building!

Even though looking at the floor plan, and using my Urban Barn Make Room tool definitely help get a sense of the space and layout, pictures are always fun, which is why I was so excited to see this lising.

Here's the layout to refresh your memory:


Here's the kitchen/dining area with the front entrance in the far right corner.  I love the walk through kitchen. Since the space is quite small, I think it definitely helps the flow of the unit.  There is an opening behind the half-wall you see against the kitchen island.


Another view of the kitchen from a slightly different angle.  The den is in behind the kitchen to the back left, which they have actually set up as their dining area.  We plan on using the space beside the kitchen (in front of their white shelving units) as our dining area.  I can't wait to find the perfect bar stools to pull up to our island!


Here is the living room with the sunny balcony beyond the patio doors, which I think actually looks shorter than it is.  In reality it is 15'3" feet long. 


Here is the floor plan I am envisioning for the living/dining area (this is a mirrored image since the Tiffani II units are on the opposite side).  I used the exact dimensions of our couch and dining table, and estimated the measurements for the coffee table, chairs and hutch by researching pieces I might actually want to purchase.  


And as another reminder, here is our new furniture that we purchased over boxing week last year.


This is a photo of the den.  The double doors lead to a storage area and the washer/dryer.  Our immediate plans are to fill this space with our current living room furniture to create a typical "den" and guest room, but eventually this will become a nursery.  I think it looks smaller than its actual 8'10" X 7'3" square footage.  


Here is the bedroom.  I'm so happy with its size and the beautiful large windows.  I can't wait to be lying in bed, enjoying that view.


This is the layout I'm hoping to achieve in the bedroom.  I was originally going to place the desk in front of the window, but I didn't realize it went all the way to the ground.  I'm going to sneak it into the corner so that I don't obstruct our views.


And speaking of the view - here is it!  This was taken from the 14th floor (we are on the 8th).  There is a lot of beautiful green space across the Vanier Parkway and along the river.  One of the main reasons we chose The Bennett is the fact that we are facing South/West which will allow for plenty of afternoon and evening sunlight for us to enjoy.


So, there you have it!  A little update on how excited we are and what we have to look forward to in about 6 million seconds.