We had a great weekend - my first weekend spent at the condo actually! It was nice to wake up and enjoy our new space instead of having to rush off to work. I still sort of feel like I'm on a vacation, living in someone else's home.
Although we were quite busy socializing with friends, I did find the time on holiday Monday to tackle a portion of my painting project. And for my first attempt at painting furniture, I think it went pretty well.
Saturday, Derek and I decided to shop local and we hit up the Benjamin Moore paint store on Beachwood for our supplies. After leaving there having spent almost $140 we decided that it probably wasn't the most economical store for our project. Live and learn, right?!
We purchased all the necessary supplies that any beginner requires...
- a small foam roller
- an angled foam brush
- paint tray with disposable liners
- a large plastic drop cloth
- sanding block
- paint
The nice lady at the store suggested we go with their Aura Interior Paint. Maybe because they claim that it is the finest paint they've ever made, "offering the most advanced way to bring colour to life", but probably because it's the most expensive. Either way, she hooked us.

One gallon of decorator's white (CC-20) cost us $73. (GASP! That $!@% cray!) We went with the satin finish. The good news is that it's a great colour (can you call white a colour?) and I plan to use on other pieces of furniture. It also comes with a built in primer which meant I could skip that step. The website insists that "Aura paint covers like no other, with even the deepest shades never requiring more than two coats." My project actually required three coats.
For the accent colour in the back of the cabinets we chose Pool Blue (2052-50). It came to about $25 for a quart of the Aura in satin finish. We both loved how refreshing it felt, and it really reminded me of my inspiration photo:

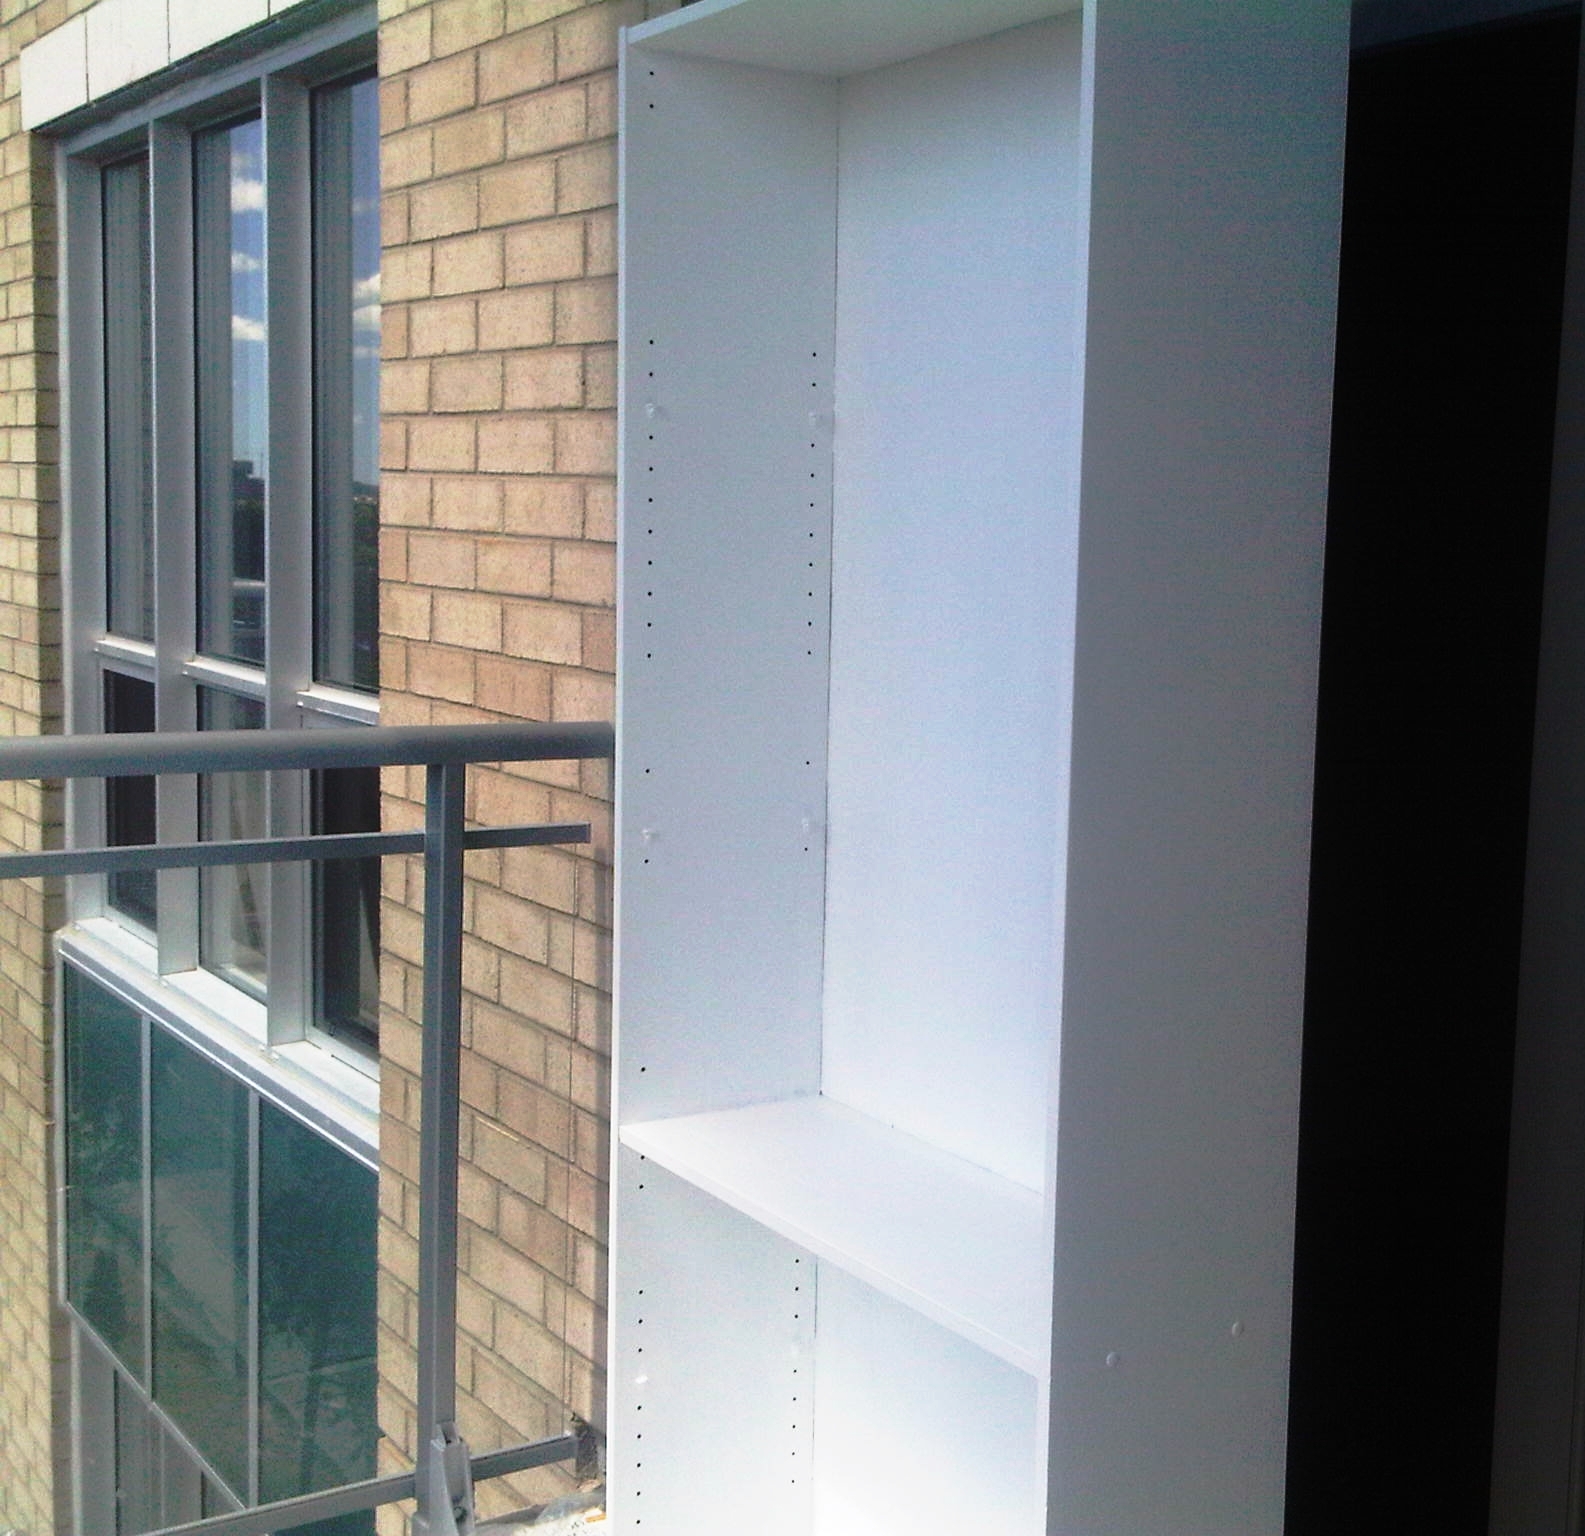
Monday arrived and Derek helped me set-up on our balcony before leaving to play golf. I'll admit, it was a little crowded out there, but I managed. Condo living = learning to deal with tight spaces!
Before I got started I was pretty nervous, having never tackled such a project. But I remember something I read recently about how beginner DIY'ers shouldn't be scared or hesitant and need to just DIVE IN! So that's what I did. Without thinking about it too much, I got to sanding and painting right away!
Here's a little timeline of photos for you....

After one coat.

After two coats.

Three coats! I actually only did two coats on the back since I would be painting it in pretty pool blue.
After one coat of pool blue:

Digging the blue!


And they are in! I had to cut my painting session short to head out to my soccer game, and I was only able to finish one coat of blue paint on the one unit. We still need to paint all the shelves too. Over all I'm pretty happy, and I think once the shelves are up and they are styled it will look more "coastal modern" and less "little boy's room".

As for how I edged around the inside with blue paint, I actually sacrificed one of my eye shadow brushes. The angled foam brush the lady at Benjamin Moore suggested just wasn't doing the trick and since it was a holiday everything was closed.
A few other things I learned:
- wait the complete hour and a half before applying your next coat
- watch out for drips and catch them as soon as you can
- light, smooth coats are better than thick ones
Although I may not have used the best painting techniques or overspent on supplies, I'm glad I decided to just dive right in. Even if they are not perfect, I think it's a great improvement from the dark brown laminate we started with!

Do you agree?
Derek actually commented that the inside of our condo is beginning to resemble the colour scheme on the outside of the building! Maybe we were subliminally inspired by the outside design!

I am itching to finish painting so that I can style my book shelves! Derek said he might tackle the rest of the painting which would be nice. I will keep you posted on how it goes!
Looks great!! I buy all my paint supplies at dollarama because then I don't feel bad about throwing it out if I don't clean the brushes as well.
ReplyDeleteI love refinishing furniture but its a pain if you don't have the proper time.
I love reading your blog! You should check out the dinning room table my mom and I refinshed when I was on vacation. Its on my facebook.
Jessie Foster
Jessie-that is smart to get your supplies at Dollarama! I'm definitely going to do that next time. I just checked out the dining table and chairs you and your mom refinished, and I love it! The fabric you chose for your chairs is beautiful! Now I know who to go to next time I need an extra hand ;)
DeleteLooks awesome Meaghan! Before we moved I scored a few side tables off of Kijiji that I plan to paint white and hope to dive into thay soon since things are finally slowing down. They are also a laminate so this post is super helpful! And I love the blue...I've been pinning blueish wall colour inspirations but I'm not sure if I'm brave enough to go for it yet :)
ReplyDeleteThanks Alicia! One of the toughest parts of DIY and painting especially is finding the time and hoping for few interruptions. I love the blue colour scheme too!
Delete